Introduction
I have recently integrated the FRANKA EMIKA Panda robot into a Gazebo simulation and wanted to share my experience. The Panda robot is currently the flagship robot used in the MoveIt! tutorials and has both low- and high level open source libraries for integration with ROS.
The low-level library is called libfranka and can be used for fine-grained information retrieval from the robot and realtime manipulation with custom controllers.
The high-level library is called franka_ros and integrates tightly with the MoveIt! motion planning framework. It allows a more practical and abstract approach to controlling the robot for customers who are already deeply involved in the ROS + MoveIt! ecosystem and want to migrate or start out with minimal effort.
Gazebo is an open source dynamics simulation environment with support for various modules and packages that are required to interface with ROS for robot manipulation.
The configuration of the robot for the high-level motion-planning library is called panda_moveit_config and was recently moved from the franka_ros package to ros-planning.
In the following I will outline a step-by-step procedure to simulate the Panda robot in Gazebo and connect it to MoveIt! for motion planning.
The procedure
For integration into Gazebo we need to
- Fix the robot to the world coordinate system
- Add damping to the joint specifications
- Add inertia matrices to the links
- Add mass to the links
- Add friction to the links
- Colorize the links
- Configure the gazebo control plugin gazebo_ros_control
- Set initial controller gains
- Add changes to parent xacro file
For MoveIt! integration we need to
- Add the Gazebo controller configuration to the MoveIt! configuration files
ROS integration
- Load the robot model onto the ROS parameter server
- Launch Gazebo and spawn the robot model
- Load the controller configurations and spawn the controllers with controller_manager
- Run a robot state publisher to take the joint values and publish them to tf
- Launch the move_group files for MoveIt! path planning
- Remap joint_states to joint_states_desired
Gazebo integration
Looking at the robot model declaration in the franka_description module inside franka_ros we realize that the mass, friction and inertia declarations are missing. But there is more to the integration than adding those values. We will find out in the following.
1. Fix the robot to the world coordinate system
To fix the robot to the Gazebo world coordinate system we need to enter the following lines into src/franka_ros/franka_description/robots/panda_arm.xacro
<link name="world" />

<joint name="robot_to_world" type="fixed">
  <parent link="world" />
  <child link="${arm_id}_link0" />
  <origin xyz="0.0 0.0 0.0" rpy="0.0 0.0 0.0" />
</joint>
2. Add damping to the joint specifications
In both the hand and arms xacro file, first add the damping variable definition and then add the <dynamics> tag with the damping variable to every joint(except for joint8) as demonstrated here for the above added robot_to_world joint:
<xacro:property name="joint_damping" value="1.0"/>

<joint name="robot_to_world" type="fixed">
  <parent link="world" />
  <child link="${arm_id}_link0" />
  <origin xyz="0.0 0.0 0.0" rpy="0.0 0.0 0.0" />
  <dynamics damping="${joint_damping}"/>
</joint>
3. Add inertia matrices to the links
Gazebo requires inertia matrices for each link for exact dynamic simulation. Unfortunately FRANKA EMIKA also doesn’t specify anything here. You could load the stl model files in an appropriate application that can compute inertia from polygon models but we will stick with a working guess. We will expand all links in the franka_description package as follows:
<link name="${arm_id}_link0">
   <visual>
      <geometry>
         <mesh filename="package://${description_pkg}/meshes/visual/link0.dae" />
      </geometry>
   </visual>
   <collision>
      <geometry>
         <mesh filename="package://${description_pkg}/meshes/collision/link0.stl" />
      </geometry>
   </collision>
   <inertial>
      <origin xyz="0 0 0" rpy="0 0 0" />
      <inertia ixx="0.3" ixy="0.0" ixz="0.0" iyy="0.3" iyz="0.0" izz="0.3" />
   </inertial>
</link>
4. Add mass to the links
This is a tricky one, as FRANKA EMIKA does not specify the masses in the specification sheet. Before we outline the calculation let’s first add the mass to the link from above by expanding its inertia definition:
<inertial>
    <origin xyz="0 0 0" rpy="0 0 0" />
    <mass value="3.06" />
    <inertia ixx="0.3" ixy="0.0" ixz="0.0" iyy="0.3" iyz="0.0" izz="0.3" />
</inertial>
My mass calculations are based on the volumes of the links which I acquired by loading the models into meshlab which calculates the volume of the given link. When the visual model gave an error I loaded the collision model. Together with the mass of the complete arm(18 kg) and hand(0,7 kg) from the panda specification, I obtained these results:
| Link | Model | Volume | Mass |
| 0 | collision | 0,002996 | 3,06357 |
| 1 | visual | 0,002293 | 2,34471 |
| 2 | visual | 0,002312 | 2,36414 |
| 3 | collision | 0,002328 | 2,38050 |
| 4 | collision | 0,002374 | 2,42754 |
| 5 | collision | 0,003419 | 3,49611 |
| 6 | collision | 0,001435 | 1,46736 |
| 7 | collision | 0,000446 | 0,45606 |
| 0,017603 | 18 | ||
| hand | collision | 0,000709 | 0,67893 |
| finger1 | visual | 0,000011 | 0,01053 |
| finger2 | visual | 0,000011 | 0,01053 |
| 0,000731 | 0,7 |
5. Add friction to the links
The Gazebo documentation which explains the friction parameter links to an online resource from which I chose the value for Aluminium mild : 0,61.
For the friction we will create a separate file in the same directory as the other xacro files: src/franka_ros/franka_description/robots/panda.gazebo.xacro
In this file we define a <gazebo> tag for each link:
<gazebo reference="${robot_name}_link0">
   <mu1>0.61</mu1>
   <mu2>0.61</mu2>
</gazebo>
6. Colorize the links
We will define white color for the links. This can be useful for computer vision tasks in the future.
<gazebo reference="${robot_name}_link1">
   <material>Gazebo/White</material>
   <mu1>0.2</mu1>
   <mu2>0.2</mu2>
</gazebo>
7. Configure the gazebo control plugin gazebo_ros_control
Now we add the Gazebo controller to the description in order to activate the controller in the simulation. For this we create a new file called panda.transmission.xacro in which we put all the information gazebo needs to simulate the control behavior. More specific information on all tags is provided in the documentation. We load the gazebo_ros_control plugin and have the option to specify the namespace it is running in(commented out as not used in our case):
<gazebo>
   <plugin name="gazebo_ros_control" filename="libgazebo_ros_control.so">
     <!-- <robotNamespace>/${robot_name}</robotNamespace> -->
   </plugin>
</gazebo>
Subsequently, we need to define the controller and transmission type for each joint together with the actuator itself. The transmission links the actuator to the joint. Here is an example for joint1 which links link0 and link1:
<transmission name="${robot_name}_tran_1">
   <type>transmission_interface/SimpleTransmission</type>
   <joint name="${robot_name}_joint1">
      <hardwareInterface>hardware_interface/EffortJointInterface</hardwareInterface>
   </joint>
   <actuator name="${robot_name}_motor_1">
      <hardwareInterface>hardware_interface/EffortJointInterface</hardwareInterface>
      <mechanicalReduction>1</mechanicalReduction>
   </actuator>
</transmission>
8. Set initial controller gains
Instead of guessing the initial controller gains I will share the perfect gains with you so that you don’t have to undergo the time-consuming parameter tuning step like I did. We will create a file called panda_control.yaml for this purpose:
#panda:                    #useful if you use a namespace for the robot
    # Publish joint states
    joint_state_controller:
        type: joint_state_controller/JointStateController
        publish_rate: 50

    panda_arm_controller:
        type: effort_controllers/JointTrajectoryController
        joints:
            - panda_joint1
            - panda_joint2
            - panda_joint3
            - panda_joint4
            - panda_joint5
            - panda_joint6
            - panda_joint7

        gains:
            panda_joint1: { p: 12000, d: 50, i: 0.0, i_clamp: 10000 }
            panda_joint2: { p: 30000, d: 100, i: 0.02, i_clamp: 10000 }
            panda_joint3: { p: 18000, d: 50, i: 0.01, i_clamp: 1 }
            panda_joint4: { p: 18000, d: 70, i: 0.01, i_clamp: 10000 }
            panda_joint5: { p: 12000, d: 70, i: 0.01, i_clamp: 1 }
            panda_joint6: { p: 7000, d: 50, i: 0.01, i_clamp: 1 }
            panda_joint7: { p: 2000, d: 20, i: 0.0, i_clamp: 1 }

        constraints:
            goal_time: 2.0

        state_publish_rate: 25

    panda_hand_controller:
        type: effort_controllers/JointTrajectoryController
        joints:
            - panda_finger_joint1
            - panda_finger_joint2

        gains:
            panda_finger_joint1: { p: 5, d: 3.0, i: 0, i_clamp: 1 }
            panda_finger_joint2: { p: 5, d: 1.0, i: 0, i_clamp: 1 }

state_publish_rate: 25- joint_state_controller: Publishes the joint state to the ROS topics
- panda_arm_controller: Sets the controller gains for the arm joints
- panda_hand_controller: Sets the controller gains for the hand joints
9. Add changes to parent xacro file
Finally the new xacro files need to be added and called in panda_arm_hand.urdf.xacro:
<xacro:arg name="robot_name" default="panda" />

<xacro:include filename="$(find franka_description)/robots/panda_arm.xacro" />
<xacro:include filename="$(find franka_description)/robots/hand.xacro" />
<xacro:include filename="$(find franka_description)/robots/panda.gazebo.xacro" />
<xacro:include filename="$(find franka_description)/robots/panda.transmission.xacro" />

<xacro:panda_arm />
<xacro:hand ns="panda" rpy="0 0 ${-pi/4}" connected_to="panda_link8"/>

<xacro:panda_gazebo robot_name="$(arg robot_name)" />
<xacro:panda_transmission robot_name="$(arg robot_name)" hardware_interface="$(arg hardware_interface)" />
MoveIt! integration
1. Add the Gazebo controller configuration to the MoveIt! configuration files
We need to point the existing MoveIt! configuration to the controllers that we just defined and also modify their types to follow_joint_trajectory which is the type of controller that Gazebo expects and uses to control our robot. We do so by modifying panda_moveit_config/config/panda_controllers.yaml for the case where the user does not load the gripper
controller_list:
  - name: panda_arm_controller
    action_ns: follow_joint_trajectory
    type: FollowJointTrajectory
    default: true
    joints:
      - panda_joint1
      - panda_joint2
      - panda_joint3
      - panda_joint4
      - panda_joint5
      - panda_joint6
      - panda_joint7
and panda_moveit_config/config/panda_gripper_controllers.yaml for the standard use case where the robot is controlled together with the gripper
controller_list:
  - name: panda_arm_controller
    action_ns: follow_joint_trajectory
    type: FollowJointTrajectory
    default: true
    joints:
      - panda_joint1
      - panda_joint2
      - panda_joint3
      - panda_joint4
      - panda_joint5
      - panda_joint6
      - panda_joint7
  - name: panda_hand_controller
    action_ns: follow_joint_trajectory
    type: FollowJointTrajectory
    default: true
    joints:
      - panda_finger_joint1
      - panda_finger_joint2
ROS integration
For the ROS integration we will write a launch file that starts the correct components.
1. Load the robot model onto the ROS parameter server
<param name="robot_description" command="$(find xacro)/xacro --inorder $(find franka_description)/robots/panda_arm_hand.urdf.xacro" />2. Launch Gazebo and spawn the robot model
Gazebo can be launched with numerous options. We will launch the empty world but will of course enable the gui option so that we can see the robot.
<!-- GAZEBO arguments -->
<arg name="paused" default="false"/>
<arg name="use_sim_time" default="true"/>
<arg name="gui" default="true"/>
<arg name="headless" default="false"/>
<arg name="debug" default="false"/>

<!--launch GAZEBO with own world configuration -->
<include file="$(find gazebo_ros)/launch/empty_world.launch">
	<arg name="debug" value="$(arg debug)"/>
	<arg name="gui" value="$(arg gui)"/>
	<arg name="paused" value="$(arg paused)"/>
	<arg name="use_sim_time" value="$(arg use_sim_time)"/>
	<arg name="headless" value="$(arg headless)"/>
</include>

<node name="spawn_urdf" pkg="gazebo_ros" type="spawn_model" args="-param robot_description -urdf -model panda"/>
3. Load the controller configurations and spawn the controllers with controller_manager
In order to launch the controllers we need to first load our custom controller configuration file onto the ROS parameter server. After that we are ready to spawn our three controllers:
<!-- Load joint controller configurations from YAML file to parameter server -->
<rosparam file="$(find robotics_assisted_tomography)/config/panda_control.yaml" command="load"/>

<!-- load the controllers -->
<node name="controller_spawner" pkg="controller_manager" type="spawner" respawn="false" output="screen" args="joint_state_controller panda_hand_controller panda_arm_controller" />
4. Run a robot state publisher to take the joint values and publish them to tf
This node takes the joint values at any instant and publishes them to tf which in turn given the robots model computes all possible transforms between the links of the robot and the environment.
<node name="robot_state_publisher" pkg="robot_state_publisher" type="robot_state_publisher" respawn="true" output="screen" />5. Launch the move_group files for MoveIt! path planning
In order to plan and execute paths with MoveIt! we need to start the preconfigured move_group files that start all nodes that are necessary for motion planning and trajectory execution for both the panda_arm and hand move_groups.
<include file="$(find panda_moveit_config)/launch/planning_context.launch">
  <arg name="load_robot_description" value="true"/>
</include>
<include file="$(find panda_moveit_config)/launch/move_group.launch" />
<include file="$(find panda_moveit_config)/launch/moveit_rviz.launch" />
6. Remap joint_states to joint_states_desired
The launch file panda_moveit_config/launch/move_group.launch configures the node move_group so that it expects the joint states not to be published by the joint_states topic but by the joint_states_desired topic(see line 78). Consequently we will remap the topic joint_states to joint_states_desired so that the communication to MoveIt! works.
<node name="joint_state_desired_publisher" pkg="topic_tools" type="relay" args="joint_states joint_states_desired" />Results and screenshots
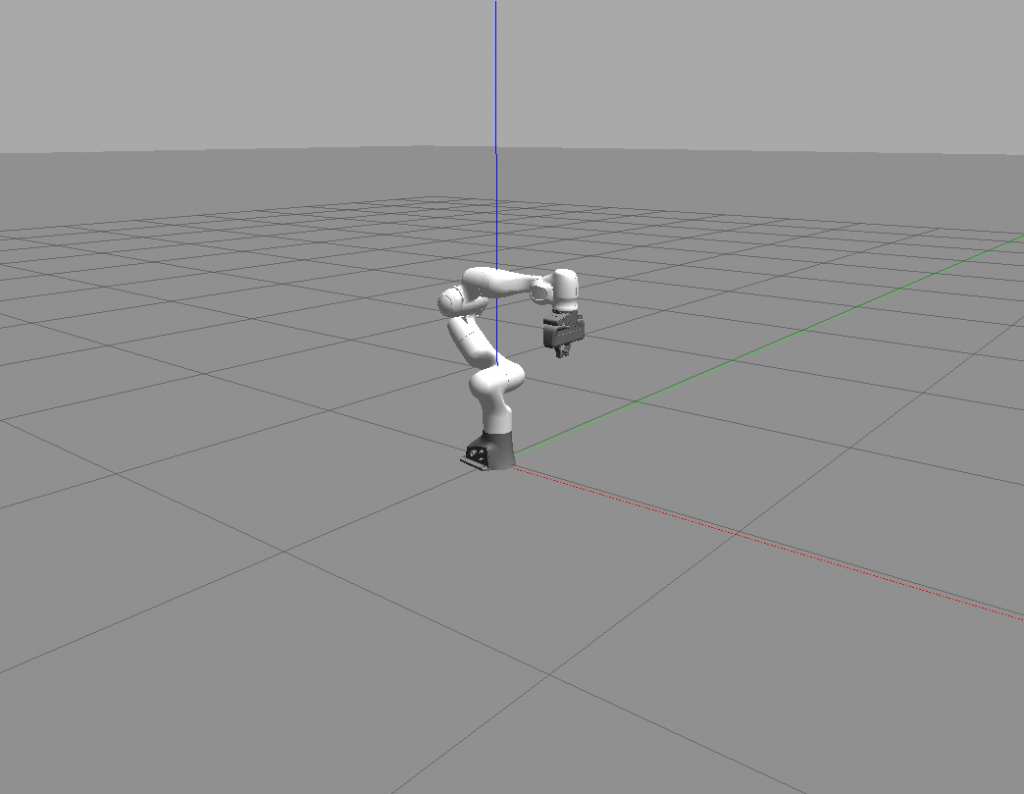
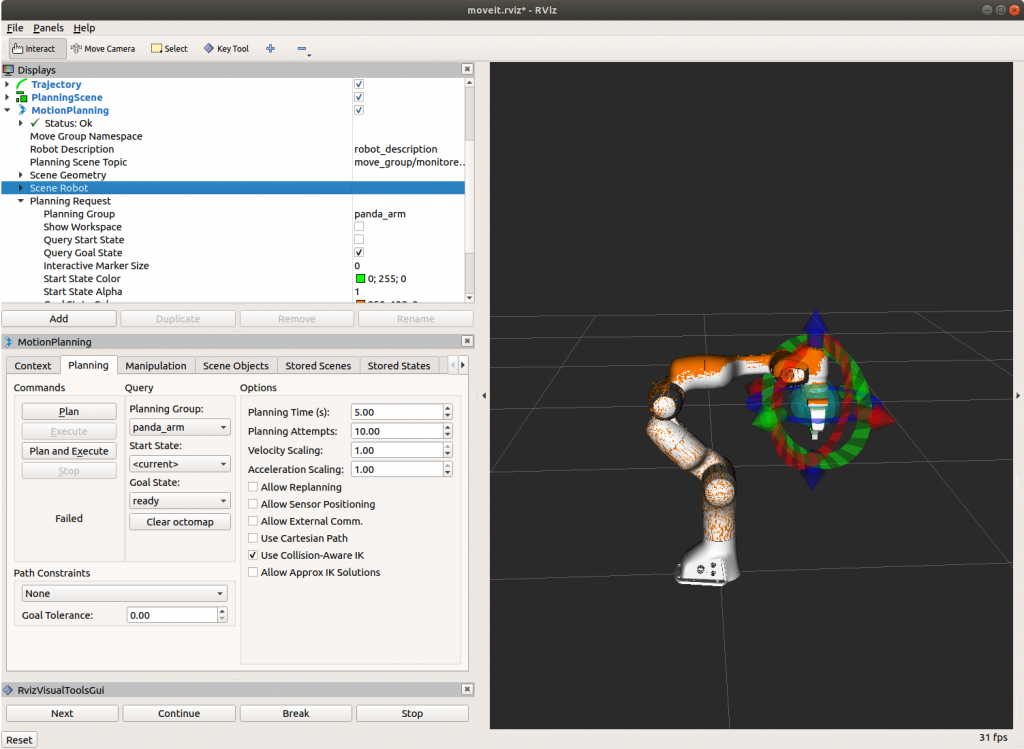
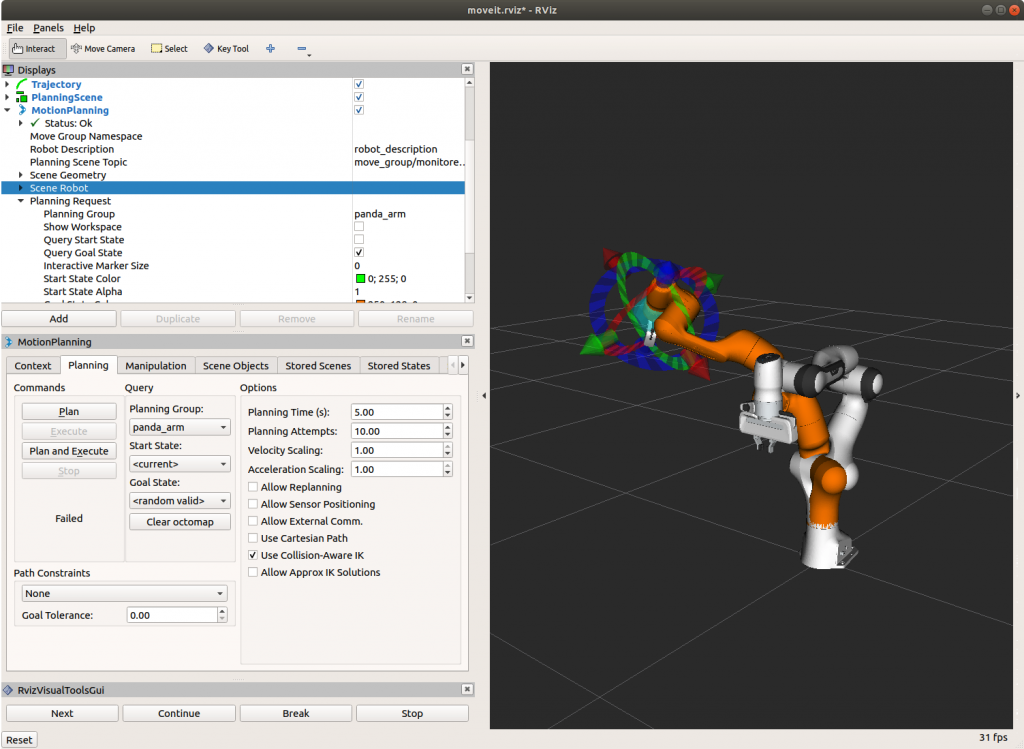
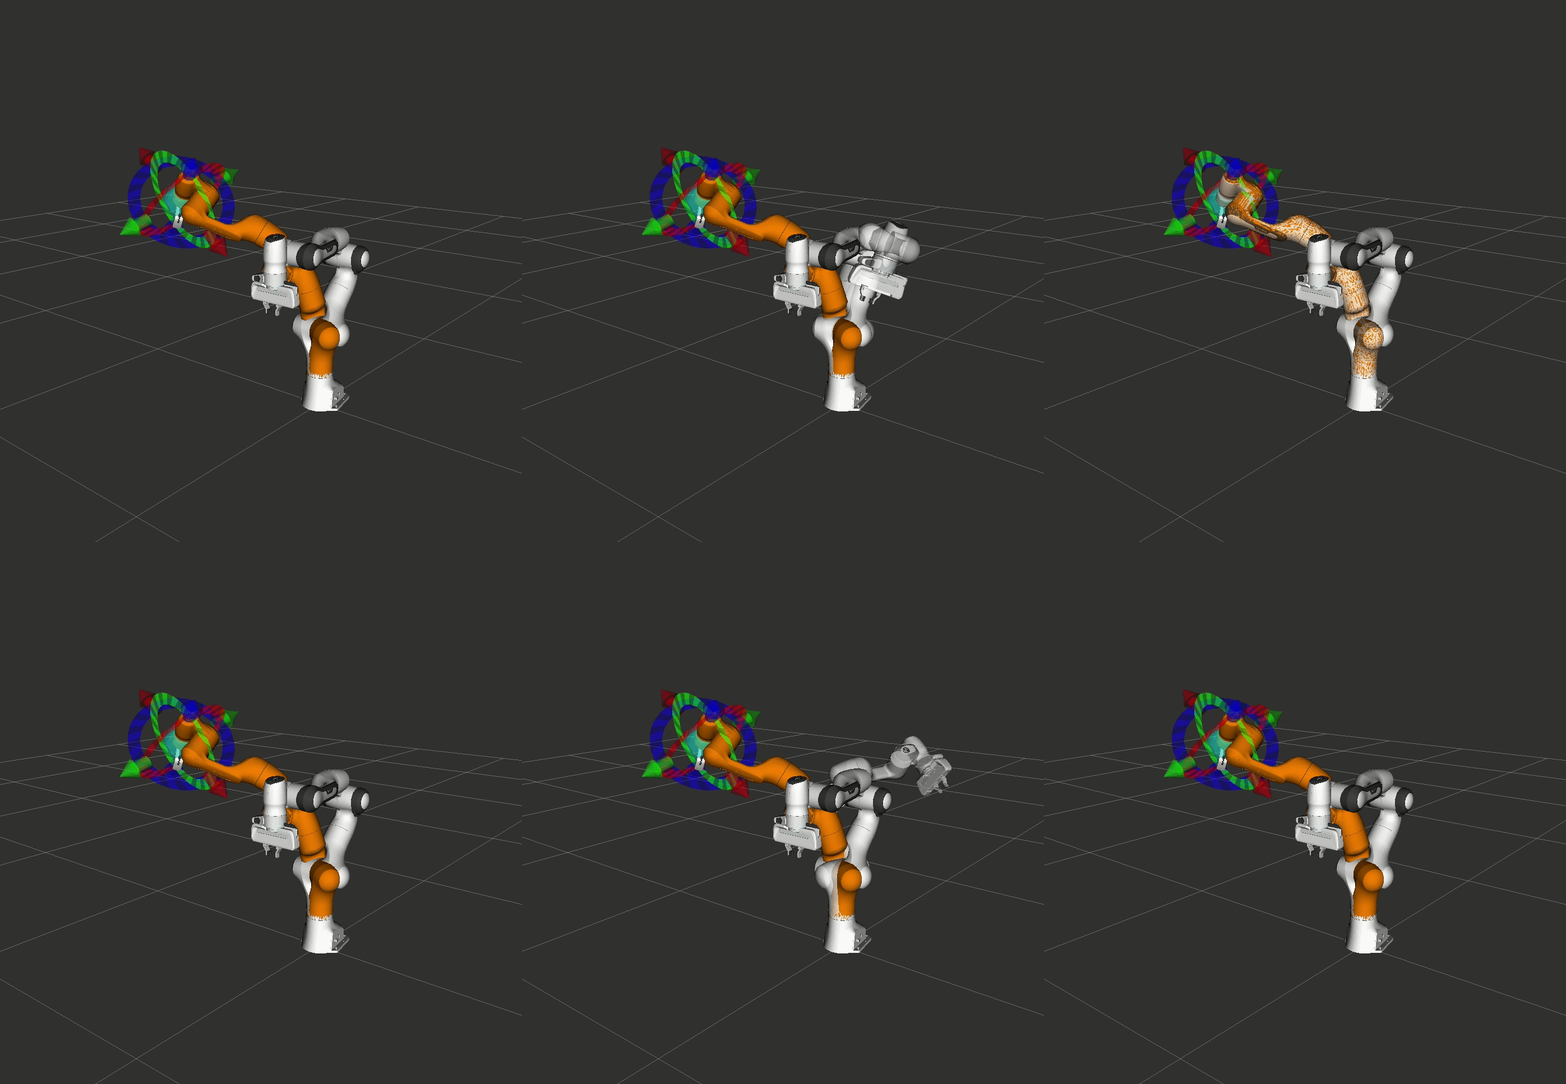
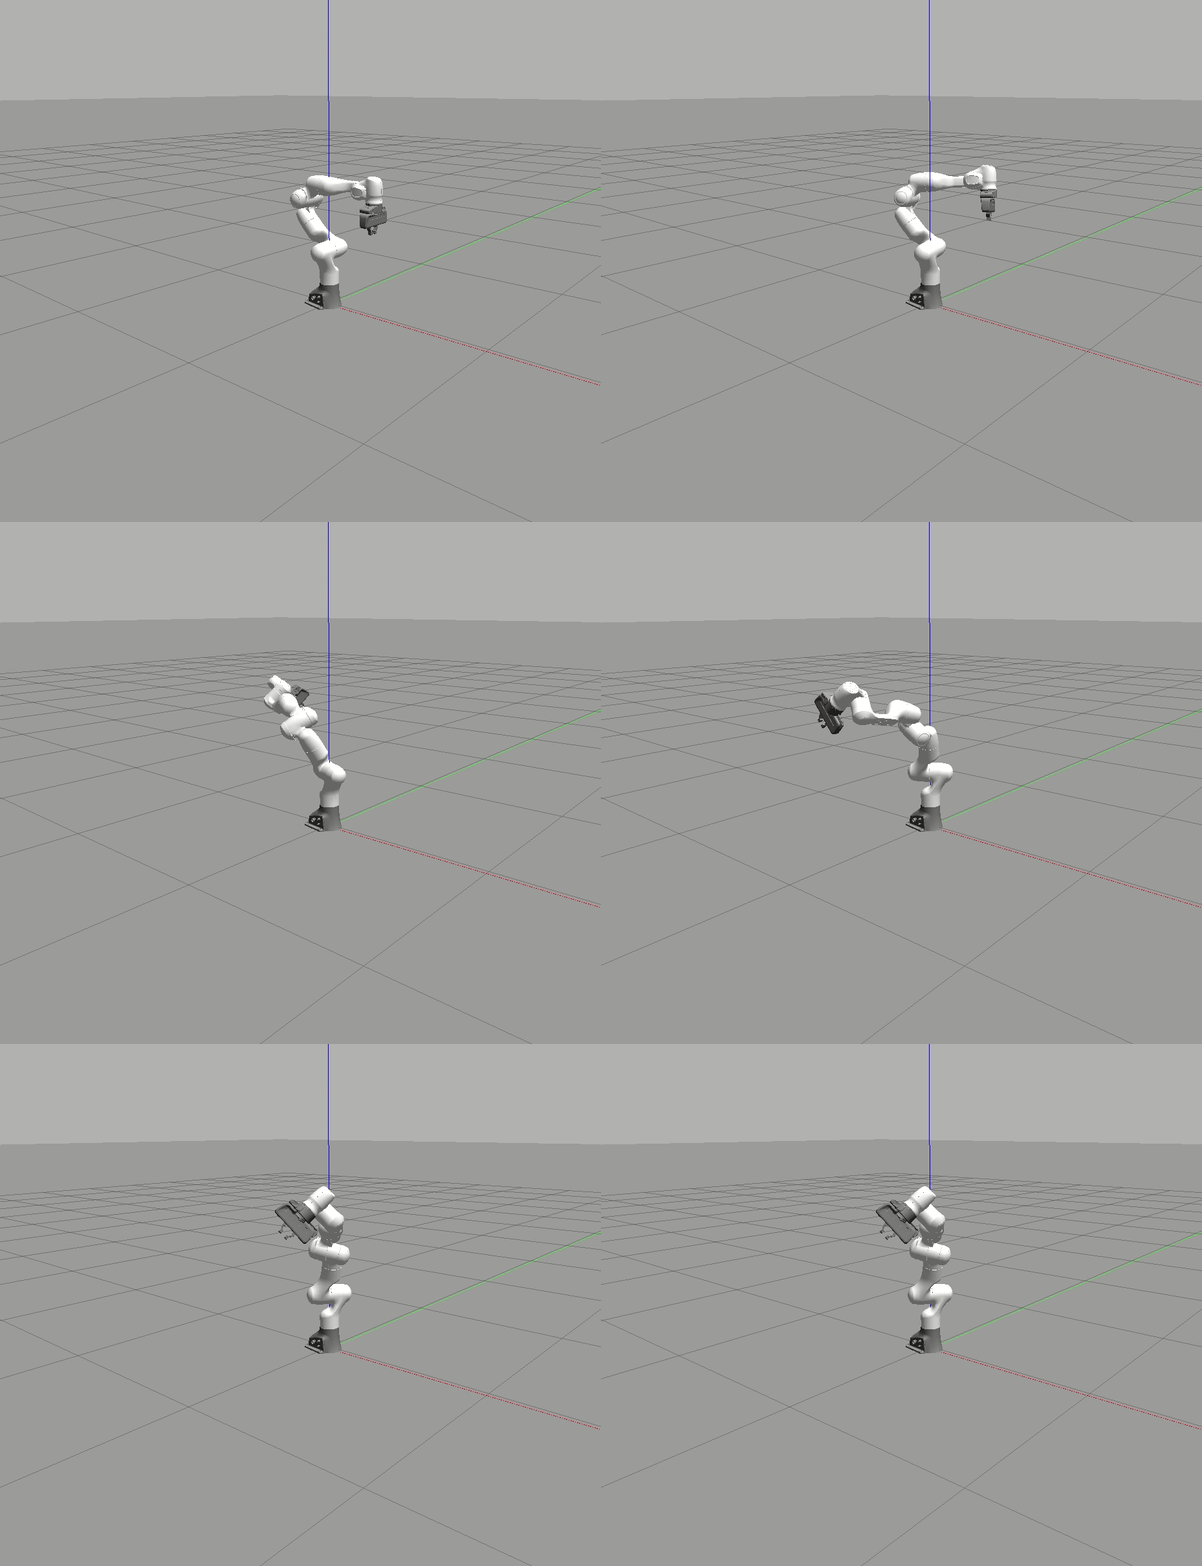
The custom ROS package as well as the modified franka_ros and panda_moveit_config repositories are available in my GitHub profile.
The next part of this series is about writing a ROS node in C++ that communicates with the move_groups for motion planning. We will also discuss how different constraints such as collision objects(e.g. walls) can be integrated into MoveIt! such that these constraints are considered by the motion planning algorithm.

One thought on “Integrating FRANKA EMIKA Panda robot into Gazebo”
Comments are closed.